
Mantel Shelf Install: Taking a Closer Look
Have you been steadily checking home improvement projects off your list over the past couple of months? If so, this blog might be for you!
The May 7th episode of Ask This Old House, “Mantel, Too Many Light Switches,” follows along with mason Mark McCullough as he travels to Chicago to help install a wood mantel – made and shipped from Baird Brothers Fine Hardwoods – on a 1980s contemporary stone fireplace.
In this project’s case, the mantel installation was slightly different from a typical box mantel installation on a conventional stud wall. For more help on stud wall mantel installation, visit our YouTube tutorial, and follow along with Baird Brothers’ Steve Stack as he guides you step-by-step through the process and highlights the list of equipment needed.
In the episode, Mark McCullough delivered a custom-made red oak box mantel to the homeowner and worked to help her navigate the installation process on a stone face. Mark has owned and managed MJM Masonry in Boston since 1992, and first appeared on This Old House in 1996 for a Boston area project. Since then, he has regularly appeared to help answer questions and assist on masonry-focused projects.
A Stone Fireplace That Lacked Charm
Margaret’s contemporary two-story fireplace was quite literally a blank slate, and she was looking to add the mantel feature to break up the vast amount of stone in her living room.
Mark determined that the stone itself was at least 8” thick, giving enough support to complete the project without using a post, and together, they worked to install the hollow, pre-finished box mantel from Baird Brothers.
→ [Free Guide] Get the complete step-by-step plans on how to complete your own DIY mantel!
Step-By-Step Mantel Installation
Step 1: Mark used a cleat (made out of 2x4s), that attached to the stonework and hid within the hollow box mantel, since there was no way of mounting the mantel directly onto the stonework.
Step 2: They established the desired height of the mantel. Mantels are typically set at a 54” height but can be higher or lower if the stone face is uneven.
Step 3: Mark and Margaret found the center of the stonework, measuring flush to the outside of the stone, and matched the center of the cleat with the center of the actual fireplace.
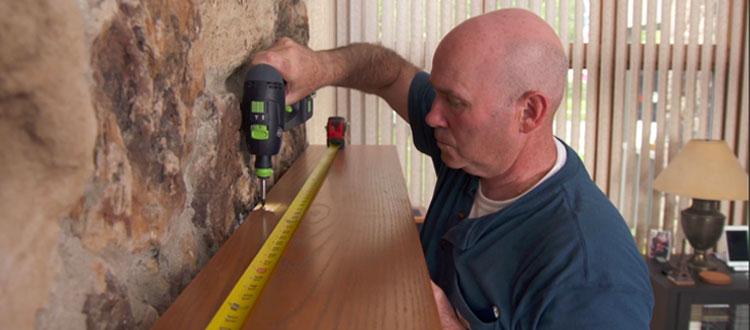
Step 4: They used a level to mark where cleat should be mounted, and found areas to drill the bolts. Mark suggested that they look for a mortar joint between two stones and mark on the cleat where the hole should be drilled. (In this instance, Mark felt that the stone was too brittle to drill directly into the face. If the stone has been thicker or more sturdy, he could have drilled through the stone itself.)
Step 5: They prepped the cleat, drilling pilot holes and notching out areas where stones were sticking out further on the fireplace.
Step 6: Margaret drilled into the mortar joints through the pilot holes and attached the cleat to the fireplace.
Step 7: They slid the pre-finished box mantel onto the cleat, making sure that both sides of the mantel were flush with the fireplace.
Step 8: They attached the hollow box mantel to the cleat with brass screws and grommets.
All in all, box mantel installation is a relatively easy process (even when mounting directly to a stone fireplace) and can take anywhere from 30 minutes to a half day’s time to complete. Even better, this type of home improvement project requires minimal equipment, and with Baird Brothers’ custom-made box mantels, orders ship ready-to-install right along with the necessary cleat mounting strip for the project.
For more home improvement tips and tricks, follow along with the latest season of Ask This Old House or subscribe to our Baird Brothers’ YouTube channel.

