
Insider Secrets: Tips for Wainscot Installation
Step-by-step guides always give a major boost to home improvement projects, especially if you’re looking to make it an easy DIY project. Unfortunately, sometimes that in-depth know-how is hard to find. But, NOT HERE!
Let’s talk tips and tricks for wainscot. If you’re hoping to makeover your dining room, living room or entryway with some classic wood paneling, these wainscot installation tips will help you get the job done right.
How to Install Wainscoting Like a Pro
DIY wainscoting can be difficult – but, it doesn’t have to be. Go step-by-step with these insider tips and to elevate drab drywall with eye-catching chair rail, shiplap, paneling or beadboard wainscoting.
Find Your Studs
If you have a stud finder, then this isn’t tough. But if you don’t, there are a number of ways you can do this:
-
- Measure from the inside corner; there’s a stud there. From the inside corner, studs are typically placed on 16-inch centers.
- Locate outlets and light switches. These are always mounted to the side of a stud. Again, then measure on 16-inch centers.
- Measure 16 inches from an existing door, window or doorway. Studs will be located off of those points on 16-inch centers.
- When in doubt, tap it out! Knocking on the wall is a good way to judge if you’ve found a stud or not. The sound will be more solid when you tap on a stud.
After you locate the studs, use a level to mark where the nail holes go, both at the top and the bottom. Why is this important? Nailing into a stud securely fastens your accent pieces to the wall.
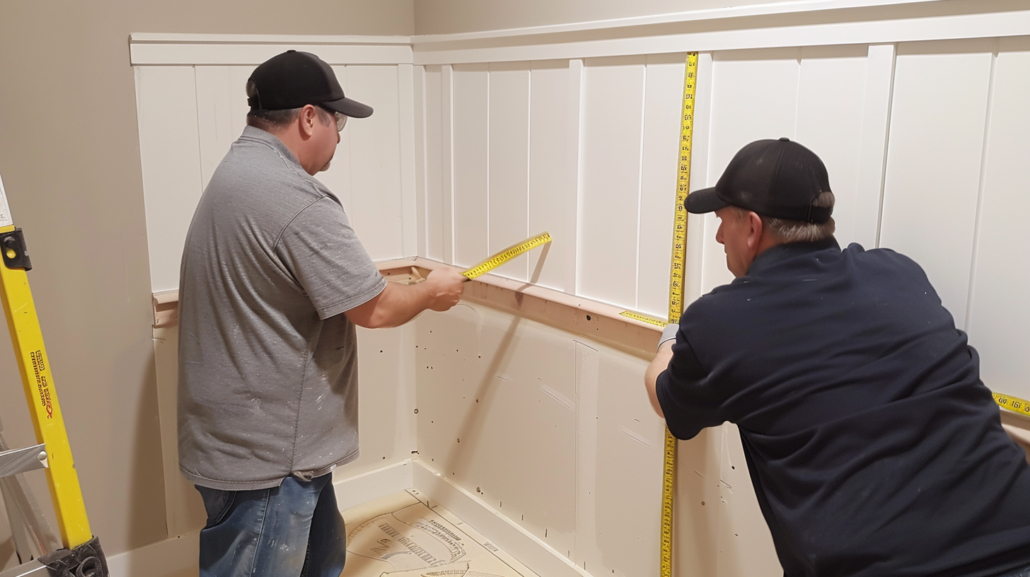
Be Meticulous With Your Measurements
We know it’s tempting to grab a tape measure, take some quick measurements and call it a day – but, that leads to mistakes and slanted wall panels. We recommend having two people do the measurements together (not only for the extra hands but also to double-check each other’s work).
Keep in mind the rule of thirds. From the floor to the ceiling, split the wall into equal thirds. Traditional wainscot height goes up to the first third (including the cap). If you have tall walls, you might want to use the whole wall to create an unforgettable, impactful space. Remember – measure each wall! Even if they look the same length and height – don’t assume. Measure!
If you’re installing shiplap or nickel gap, leave an expansion gap – typically ¼ inch between the floor and the bottom board. (Don’t worry about the look of the gap. The baseboard will cover it!)
Use Layout Lines
Make sure you’re labeling as you measure. This means marking which piece of wood goes where and how it should be cut. It also means drawing a layout on your wall so you can see where the pieces will get installed.
If you’re installing shiplap, periodic level lines on the wall help ensure that each panel is straight as you move up the wall.
In the end, layout lines prevent you from installing wood panels at uneven heights or angles and give your DIY project a high-quality, professional-looking finish.
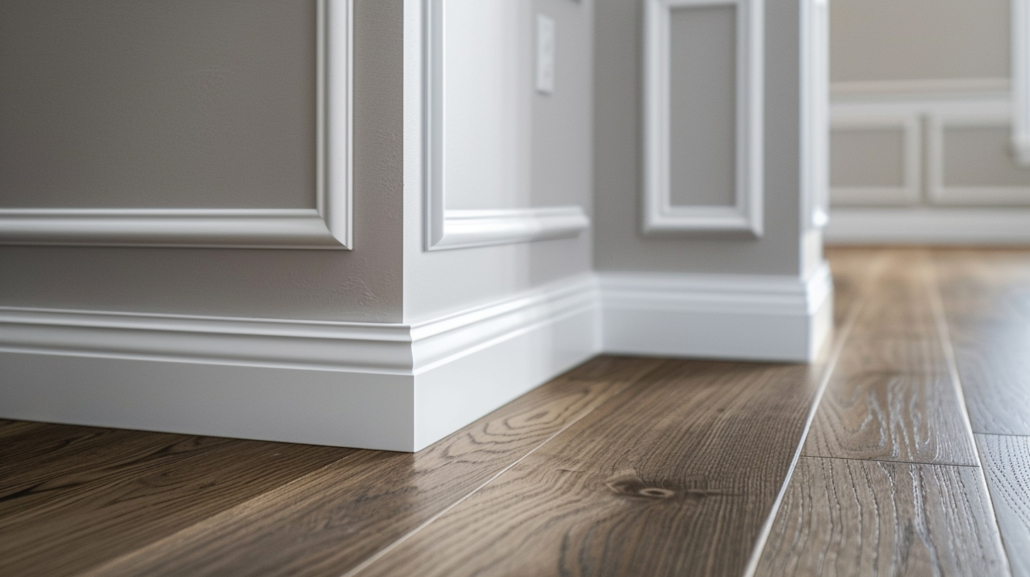
Find Your Angles
In a perfect world, all corners are exactly 90 degrees. But, sadly, we don’t live in a perfect world. Not all corners are going to be right angles. No worries, though – there’s an easy way to find the angle to cover your corners.
If you’re adding trim pieces underneath a chair rail, use spacer blocks to make sure each top and bottom piece of the trim is the same distance from the baseboard and the chair rail. Then use another spacer block to make sure that each square or rectangle is spaced at the same distance.
For seamless corners, you’ll want to grab your miter saw so that the pieces fit snugly. If your corner angles are larger than 90 degrees, it just takes some simple math to find the angles. Here’s an example:
The corner angle measures 120 degrees and you have two pieces of trim.
120 ÷ 2 = 60
Then you have to find the angle of both pieces to join together.
90 (degrees) – 60 = 30
Now you use your miter saw to cut both boards at a 30-degree angle!
To make sure you get it perfect, practice on a scrap piece of wood that’s the same size as what you’ll be installing. Then, you can then mimic those cuts on the real trim pieces.
Choose the Right Saw
Handheld circular saws and table saws are great for cutting down large and long pieces of lumber (or even MDF). But, it’s difficult to get good angled cuts with those tools. When it comes to getting precise angles, you need a miter saw.
To cut around outlets and light switches, a jigsaw or keyhole saw is your best bet.
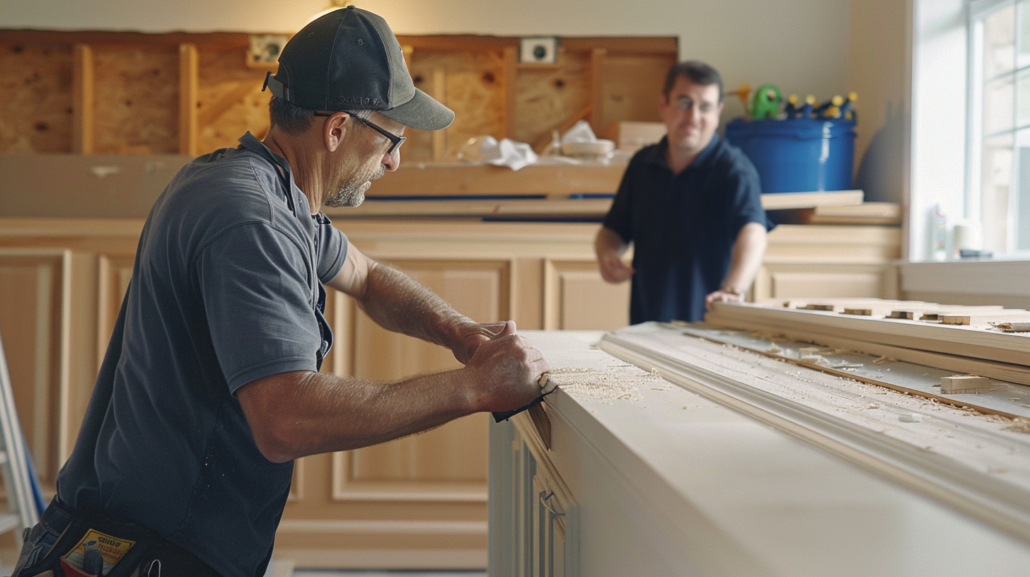
Prep Moulding and Baseboard Before Installation
After you’ve cut your lumber, it’s important to prepare your wood panels and trim pieces. That means you need to grab your palm sander or sandpaper and get to work.
Paint and stain looks SO MUCH BETTER on wainscoting panels that have been sanded correctly. (Don’t forget the top of the panel if you’re adding simple S4S lumber without a cap at the top of the wainscot.)
Attach and Enjoy Your Work!
Now it’s time to grab your nail gun! After sanding, use some reliable construction adhesive (like wood glue) and a brad nailer to attach the accent pieces. By using finishing nails, your nail holes will be much more difficult to see. Then, fill any nail holes with filler.
Before painting, add paintable caulk to any visible seams (this is a simple woodworking trick that makes all the difference).

Step 1: Buy Quality Hardwoods
Now that you know all of the insider wainscot installation tips, you need to know the first – and most important – step! Use high-quality, reliable hardwood products. It’s what the pros do!
Your wainscot project is sure to breathe new life into your home, but to make it look its best, you need the best materials.
Good news: Baird Brothers has you covered. We have in-stock and custom mouldings and a wide variety of premium lumber for you to choose from. Shop our online store or reach out to one of our dedicated customer sales representatives to discuss the ins and outs of your project. Make your dream home a reality!

