
DIY Home Improvement Insight for Installing Hardwood Floors
Looking for a way to elevate your home’s value? Or just looking to love your space a little more?
Installing hardwood floors offers good bang for your buck – as long as it’s done correctly. And, while it can be a fantastic DIY project, there are some universal elements to check (or at least know about) if you don’t want crooked, cupped or buckling flooring boards.
Here’s your list of must-dos when it comes to a proper flooring installation method so you’re left with the most beautiful wood floors you’ve ever seen.
Check Subfloor Integrity
The first thing you need to do is make sure the subfloor is ready to accept hardwood flooring. It must be in good condition before adding new hardwoods in place of old flooring, because a compromised subfloor means subpar results.
But, if you’re not a professional contractor, how do you know that everything is on the up and up? Lucky for you, there are some telltale signs that subflooring needs attention.
Sinking Sections in the Room
This type of issue typically stems from one of two things: improper installation of the subfloor or moisture. Check to see if the ends of the boards/sheets meet in the middle of a joist. If not, those areas likely need to be replaced.
Previous Water Damage
Water inside a home is never good unless it’s in a sink, bathtub, shower or toilet! If you’ve had a leak at some point, and are trying to update flooring, make sure that the subfloor didn’t take on a significant amount of water.
Once you confirm your subfloor is in good condition and can accept solid wood flooring, be sure to educate yourself on the importance of quality underlayment. Underlayment is typically not used with vinyl flooring options and can come pre-attached to laminate flooring.
At its most basic, underlayment is a layer of material between your flooring and subfloor that protects against moisture while creating a friction-reduced surface. Materials used for underlayment vary (Aquabar “B,” red rosin paper and felt), but not all are created equal. Many professionals have switched to Aquabar because it provides both a vapor barrier and a smooth surface.
Research Your Wood Flooring Options
Before you buy hardwood flooring, get to know the different kinds of options and what areas they are best suited for. For instance – engineered hardwood flooring can be installed on all levels (above and below grade). It can also be installed on top of a concrete floor that has a moisture barrier underneath. At Baird Brothers, our engineered wood flooring utilizes a Baltic birch 9-ply core topped by a 5/32” hardwood wear layer. It can be installed with a glue down method or with staples.
Flooring species and their respective Janka hardness ratings also affect where certain types of hardwood flooring can be located. Some solid hardwood flooring options, like hickory, maple and white oak, rank very high on the table (meaning they are extremely durable and can be used in high-traffic areas). Other options like walnut are softer and more appropriate for low-traffic areas: think a study or home office.
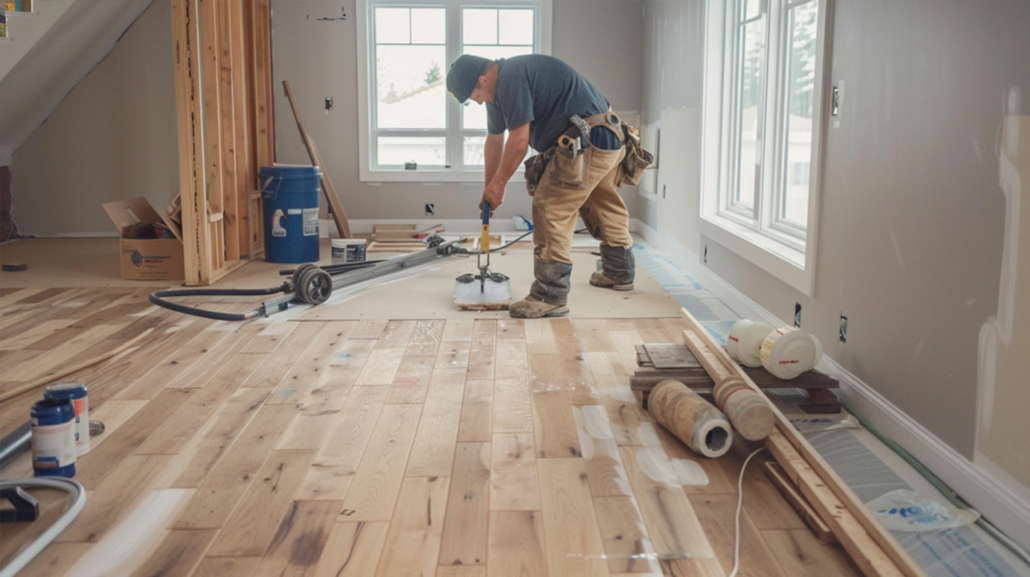
Get Your Hands on the Right Tools
It can’t be stressed enough that you need to have the right tools when and if you take on a DIY hardwood flooring installation. If you don’t have the following items on hand, then they should either be purchased or you should call a professional.
Here’s what you need:
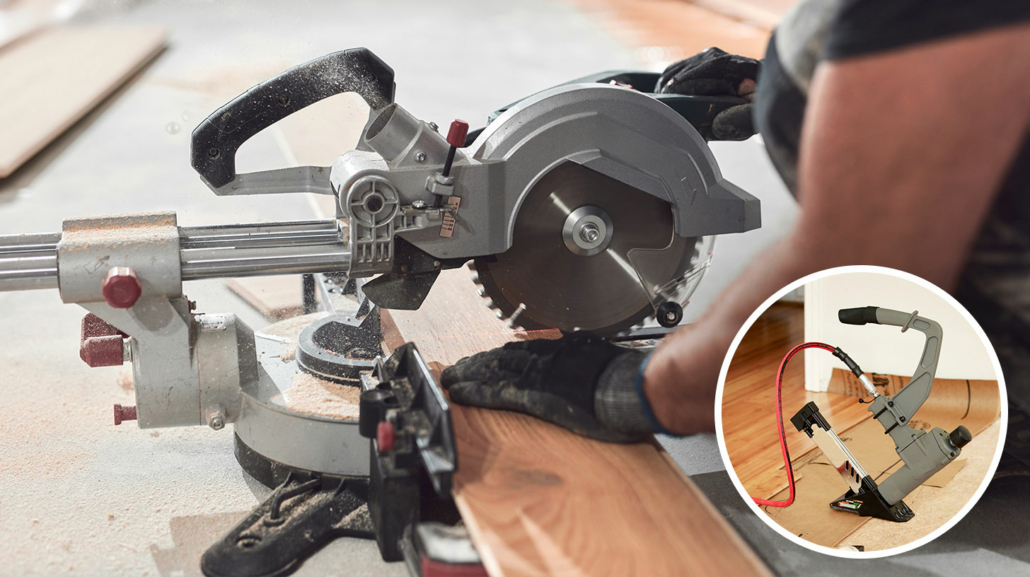
- Table saw, circular saw or miter saw
- Tape measure
- Pneumatic flooring nailer
- Compressor
- Mallet
- Finish nailer
- A jigsaw
- Wood putty (that matches the floor to fill nail holes)
- Chalk line
*Some DIYers also like to have a ¾” spacer available to stay on track with expansion gaps. You may also want to invest in some comfortable knee pads to keep those old joints from getting too sore while you install your floor.
Know That Wood Reacts Differently Than Other Flooring Materials
Hardwood flooring is a natural material that absorbs moisture, unlike tile and vinyl options. One of its greatest aspects is the fact that you can change its look with various stains and finishes over the years, but if it’s not properly cared for, hardwood flooring can cup or warp.
Acclimate the Wood
We know that it’s hard to resist the temptation of jumping right into the installation BUT, acclimating the product to your environment is a must. Hardwood expands and contracts, so you need to let it sit for two to three days. (This timeline can vary based on the type of wood species and the humidity of the environment.)
Leave an Expansion Gap
As we just mentioned, wood expands and contracts as the humidity changes! If you don’t leave a little wiggle room during installation, you’ll start to notice cupping or warping. That wiggle room is called an expansion gap.
We recommend leaving at least a ¾” gap around the perimeter of the room(s), which allows the wood to swell or shrink naturally without affecting the look. Don’t worry about this gap ruining the look of your floor – it will be covered up by your baseboard and shoe moulding.
Pay Attention to Manufacturer’s Instructions
Make sure to thoroughly read and follow any instructions that come along with your new hardwood floors. The manufacturer knows the product best – and not doing so could void any warranty and/or compromise the outcome.
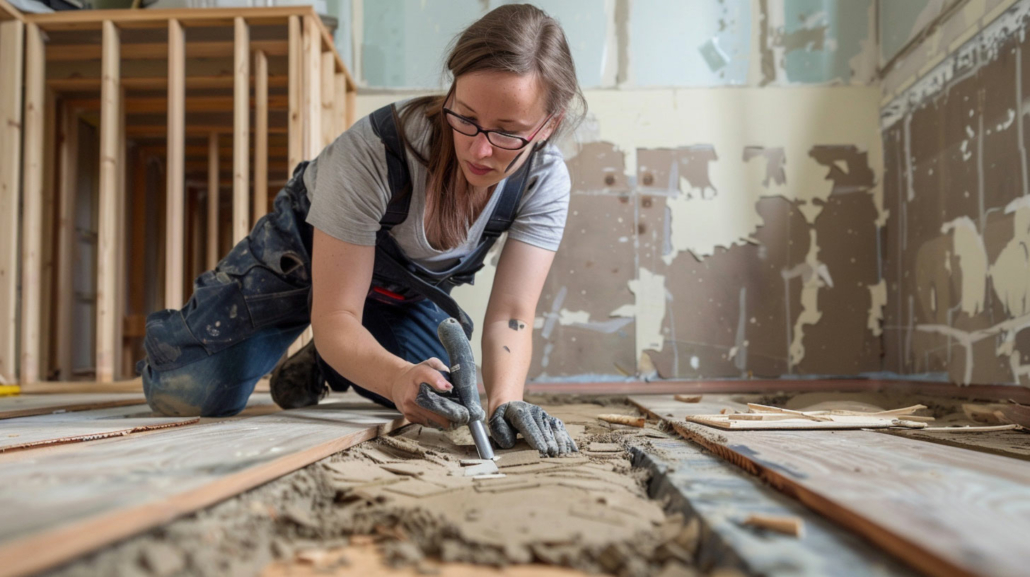
Lay Out Materials and Keep Your First Row Straight!
Make sure to lay out your hardwood flooring first to see how it all fits together. This helps you visualize the final result and get an idea of how to stagger the floorboards. You don’t want seams to line up!
A general rule of thumb is to keep the butt joints about 6 inches longer or shorter than the adjacent row. Wider plank floors can require a larger distance between seams.
Second, it’s extremely important to keep your rows straight, especially the first boards in the first row.
Check and then double-check yourself. Start by laying the floorboards perpendicular to floor joists and parallel to the longest wall with the least amount of obstructions. Many professionals suggest starting the first row against an exterior wall, as these are more likely to be square.
Pro Tip: Account for that expansion gap and snap parallel chalk lines throughout all rooms! It helps to ensure everything stays straight throughout the installation process.
Know When to Face Nail and When to Nail Through the Tongue
When installing the first row, remember to face nail the floorboards. Then countersink the nails and blind nail (at a 45-degree angle) through the board’s tongue into the subfloor. Repeat the blind nail process in each row until a pneumatic flooring nailer can be used. When you come to the final few rows, face nail by hand (instead of using a nail gun) so nothing shifts. Then countersink the nails.
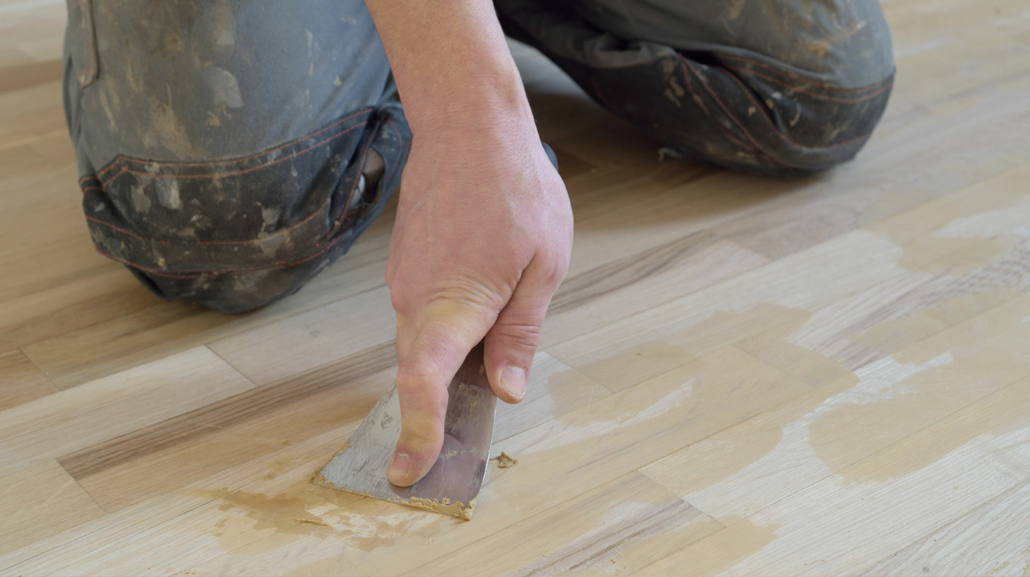
Once you’re done, fill those face nail holes (and any knots) with wood putty. If you’re not staining and finishing on your own, reattach your baseboard and shoe…and there you have it!
Great Hardwood Installation Starts With Great Product
One of the most important tips we can give you when it comes to installing hardwood floors is this – make sure you get quality materials!
New hardwood floors are an investment, so you want to make sure they’re going to last. This means that no matter what kind of wood flooring you buy, it’s important to make sure it comes from high-quality lumber and a skilled manufacturer.
For that, you can count on Baird Brothers. For more than 60 years, our family has been committed to helping customers build a home they can love. We offer a large selection of species, not only flooring but also any other wood element you can imagine for your home.
When you’re ready to install hardwood floors, check out our online store or get in touch with one of our representatives. We’ll set you up with materials that you’re sure to love for a lifetime!

